


Graylog is an open-source log management platform that allows organizations to collect, process, and analyze logs from various sources. It is written in Java and uses Elasticsearch or OpenSearch for indexing and searching, MongoDB for storage, and Apache Kafka for message queuing. Graylog is designed to help organizations collect, process, and analyze large volumes of log data from different sources.
The platform provides a web interface for managing log data, configuring alerts, and creating dashboards. It also has a RESTful API that allows developers to interact with the system programmatically.
Graylog is highly scalable and can handle large amounts of log data, making it suitable for organizations of all sizes. It supports a wide range of log sources, including operating systems, applications, network devices, and custom log formats. The system can be configured to handle logs from multiple sources simultaneously, and it provides a unified view of log data from across the organization.
Key Features of Graylog
Graylog has several key features that make it a popular choice for log management, including:
Centralized log collection: Graylog allows you to collect logs from a variety of sources, including servers, applications, and network devices, and store them in a centralized location.Log processing and enrichment: Graylog can process and enrich logs in real-time, allowing you to extract useful information from your logs and improve your troubleshooting capabilities.Powerful search capabilities: Graylog has a powerful search engine that allows you to search through millions of logs quickly and easily.Alerting and notifications: Graylog can send alerts and notifications based on specific log events or patterns, allowing you to proactively respond to potential issues.Dashboards and visualizations: Graylog provides a range of dashboards and visualizations that allow you to monitor system performance and identify trends and patterns in your logs.
Apart from this it also has a lot more features and functionalities which you can be explore here: https://go2docs.graylog.org/5-0/what_is_graylog/what_is_graylog.htm
Let's see Graylog in action :
Installing Graylog :
Graylog can be installed in many ways but the easiest way to get started is Docker or Docker-Compose.
The Prerequisite for that is you should have
dockeranddocker-composeinstalled locally.Here is the link for other types of installation of Graylog. Click here
Downloading Docker-Compose file :
This is the link of remote repo https://github.com/Graylog2/docker-compose.git to download docker-compose file . I am going to use open-core for this demo. You can either download the files from the git repo or you can refer to the below code. Save the below code in the docker-compose.yml file, also create a
.envfile.version: "3.8" services: mongodb: image: "mongo:5.0" volumes: - "mongodb_data:/data/db" restart: "on-failure" opensearch: image: "opensearchproject/opensearch:2.4.0" environment: - "OPENSEARCH_JAVA_OPTS=-Xms1g -Xmx1g" - "bootstrap.memory_lock=true" - "discovery.type=single-node" - "action.auto_create_index=false" - "plugins.security.ssl.http.enabled=false" - "plugins.security.disabled=true" ulimits: memlock: hard: -1 soft: -1 nofile: soft: 65536 hard: 65536 volumes: - "os_data:/usr/share/opensearch/data" restart: "on-failure" graylog: hostname: "server" image: "${GRAYLOG_IMAGE:-graylog/graylog:5.0}" depends_on: opensearch: condition: "service_started" mongodb: condition: "service_started" entrypoint: "/usr/bin/tini -- wait-for-it opensearch:9200 -- /docker-entrypoint.sh" environment: GRAYLOG_NODE_ID_FILE: "/usr/share/graylog/data/config/node-id" GRAYLOG_PASSWORD_SECRET: "${GRAYLOG_PASSWORD_SECRET:?Please configure GRAYLOG_PASSWORD_SECRET in the .env file}" GRAYLOG_ROOT_PASSWORD_SHA2: "${GRAYLOG_ROOT_PASSWORD_SHA2:?Please configure GRAYLOG_ROOT_PASSWORD_SHA2 in the .env file}" GRAYLOG_HTTP_BIND_ADDRESS: "0.0.0.0:9000" GRAYLOG_HTTP_EXTERNAL_URI: "http://localhost:9000/" GRAYLOG_ELASTICSEARCH_HOSTS: "http://opensearch:9200" GRAYLOG_MONGODB_URI: "mongodb://mongodb:27017/graylog" ports: - "5044:5044/tcp" # Beats - "5140:5140/udp" # Syslog - "5140:5140/tcp" # Syslog - "5555:5555/tcp" # RAW TCP - "5555:5555/udp" # RAW TCP - "9000:9000/tcp" # Server API - "12201:12201/tcp" # GELF TCP - "12201:12201/udp" # GELF UDP #- "10000:10000/tcp" # Custom TCP port #- "10000:10000/udp" # Custom UDP port - "13301:13301/tcp" # Forwarder data - "13302:13302/tcp" # Forwarder config volumes: - "graylog_data:/usr/share/graylog/data/data" - "graylog_journal:/usr/share/graylog/data/journal" restart: "on-failure" volumes: mongodb_data: os_data: graylog_data: graylog_journal:After creating .env file add this code snippet in your file to configure Graylog :
 # You MUST set a secret to secure/pepper the stored user passwords here. Use at least 64 characters.
 # Generate one by using for example: pwgen -N 1 -s 96
 # ATTENTION: This value must be the same on all Graylog nodes in the cluster.
 # Changing this value after installation will render all user sessions and encrypted values in the database invalid. (e.g. encrypted access tokens)
 GRAYLOG_PASSWORD_SECRET=""

 # You MUST specify a hash password for the root user (which you only need to initially set up the
 # system and in case you lose connectivity to your authentication backend)
 # This password cannot be changed using the API or via the web interface. If you need to change it,
 # modify it in this file.
 # Create one by using for example: echo -n yourpassword | shasum -a 256
 # and put the resulting hash value into the following line
 # CHANGE THIS!
 GRAYLOG_ROOT_PASSWORD_SHA2=""
Set the
GRAYLOG_PASSWORD_SECRETandGRAYLOG_ROOT_PASSWORD_SHA2environment variables in the .env file! Graylog won't start without these. The steps for setting these values are already mentioned in.envfile comments.Starting Graylog
After you've configured
GRAYLOG_PASSWORD_SECRETandGRAYLOG_ROOT_PASSWORD_SHA2, run one of these commands to start the instance:docker compose upTo start it daemonized, run:
docker compose up -dIt's as simple as that!
Accessing Graylog Dashboard :
To access the Graylog dashboard go to your browser and enter the URL http://localhost:9000/ .
Once done there will be a prompt to enter a username and password like this.
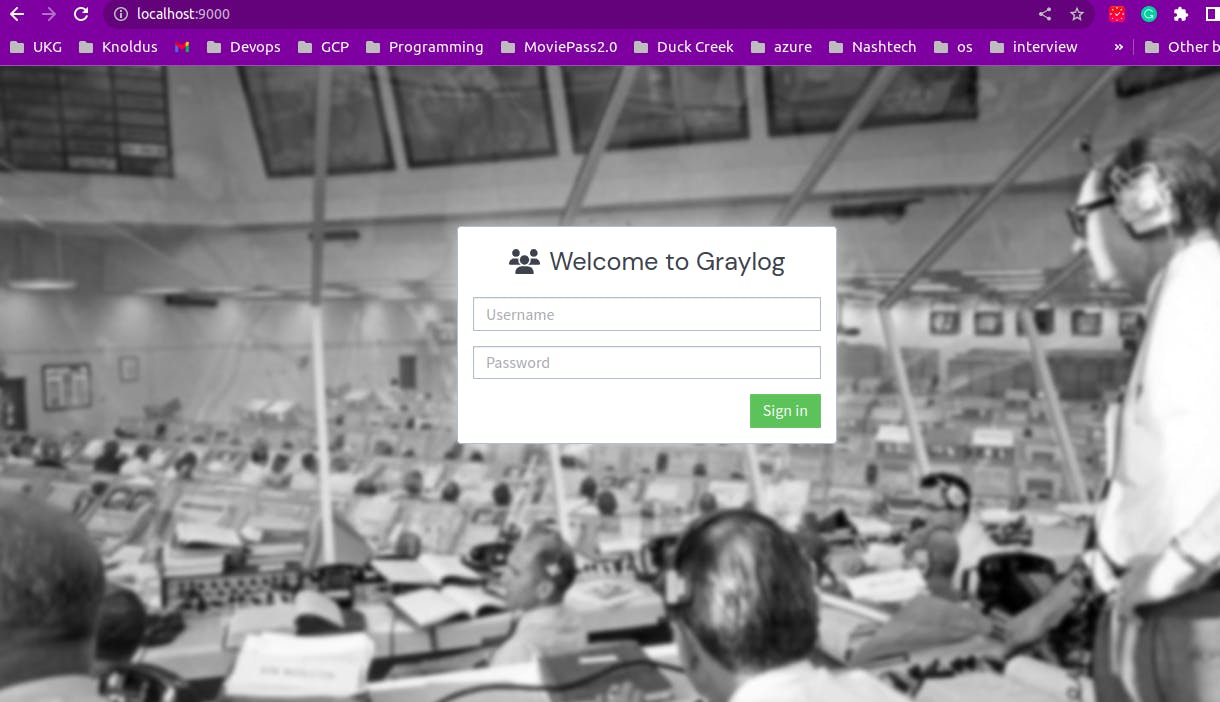
Enter
adminas user-name and the default password will beyourpasswordor if you have changed the password while setting the .env file you can enter that password.Once logged in you will be prompted Getting Started Page. From that, you can move to the search page which is something like this.
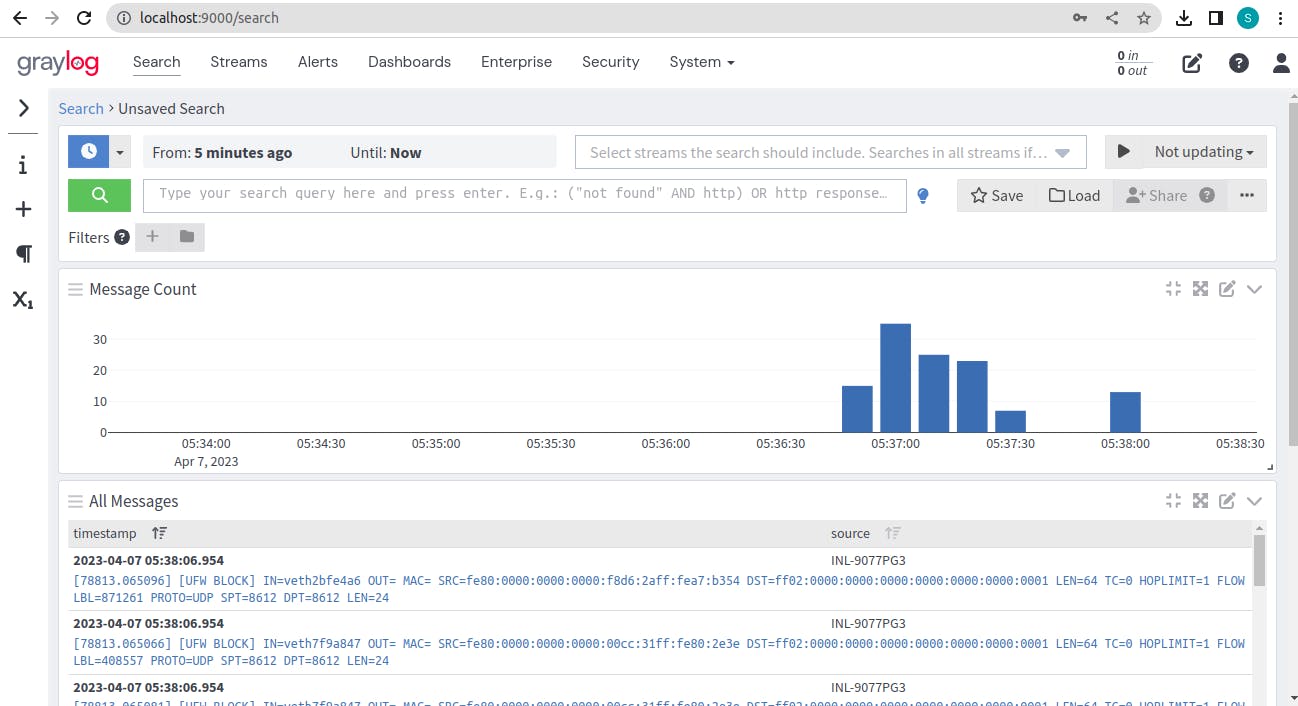
Though the blue histograms and logs will not appear to you now, we need to set up that. For that, I will be publishing another blog. In the next blog, we will target how to get
syslog from local to Graylog server. It is going to be very interesting. Follow me or subscribe to my newsletter to get frequent updates and amazing blogs on interesting tools and techniques to learn. Bye for now !!